

About the Product Photography
I (Anna) get asked a lot how I do the product photography for Brendon's jewellery. I though I'd share here, no doubt there's other small businesses that have had to find their way online since Covid, and may be on the same learning curve!
Please check the captions for each pic and I'll outline the specifics of what I do. And of course, if you know of a better or more efficient way of doing it, please let me know.
Shoutout to Bianca of Brandland New Zealand, my designer friend who gave me valuable pointers about how to do this. Hope it's helpful to you 😊

1. Here’s my set up, specific to glass jewellery. It’s on my kitchen table, but I can pack it down into a box easily.
The frame is part of an old clothes horse, bent into shape. It’s held together by clothespins and a bungy cord. The cords of the pieces I photograph are hung over some more clothespegs in a crossbar, again part of the old clotheshorse.
The “shadowless lightbox” that is great for photographing glass was sourced from Aliexpress. About $100, although you can get smaller ones for cheaper.
The lamp with a flexible arm is from K Mart, and the bulb is a Phillips 5.5W cool light build from Mitre 10. It’s got a white plastic bag over it to soften the reflections.
I photograph in the daytime, with the curtains open on the windows behind and beside me, and also with the living rom lights on to get as much light as possible. All of these light sources can and do get manipulated to get the best light for each individual piece.

2. I line up the piece with my iPhone 11 Pro, and I think this camera is fantastic. (Yes I know I could have gotten a decent camera with a cheaper phone, but I’m a diehard apple fangirl, fight me) I have it on 2x zoom and sometime will adjust the exposure slightly higher to take the photo. The piece then gets put in a little plastic bag with it’s individual SKU number written on it.

3. I import the photo - usually photos, as I do these in batches, into the “Photos” program on my Mac, and check if the colour is accurate to the real piece. Often it’s fine, sometimes I’ll adjust the light, the definition or the colour so that it’s an accurate representation of the jewellery piece.

4. Next program I use is AutoDesk SketchBook, a free program that is similar to Photoshop, but more simple. I’ll resize and adjust the image so that it’s nicely centred in the pre-set canvas size.

5. I use Sketchbook to select out the background, which is a straightforward process for many pieces, but much more time consuming with light or clear glass.

6. Shoutout to my Wacom graphic tablet, it works like a mouse but is more accurate. Saves me the aching hands of hours on the keyboard trackpad.

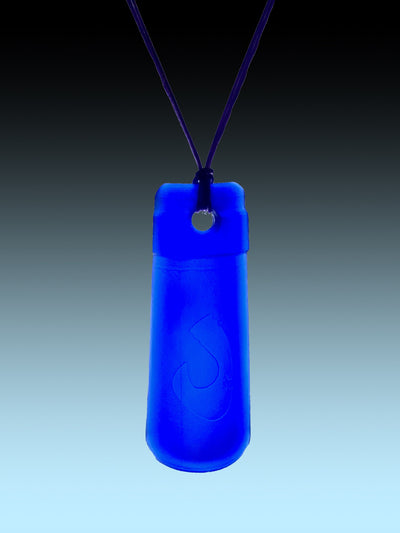
7. I fill the background with a very light grey, exactly the same shade for every image. In SketchBook I’ll also do any tidying up that’s required - blur out a bit of dust I missed, minimise an unwanted reflection etc. If the piece has a bubble or a groove that’s in the original piece, I leave that in, as I aim for the image to be as accurate as possible a representation of the piece.

8. It gets uploaded to the website, along with it’s details, and it’s ready to sell!


Leave a comment